


How to Install Outdoor Façade Wall Lights – A Practical Guide
In this guide, we have described the basic information regarding the installation of outdoor lights on a building façade.
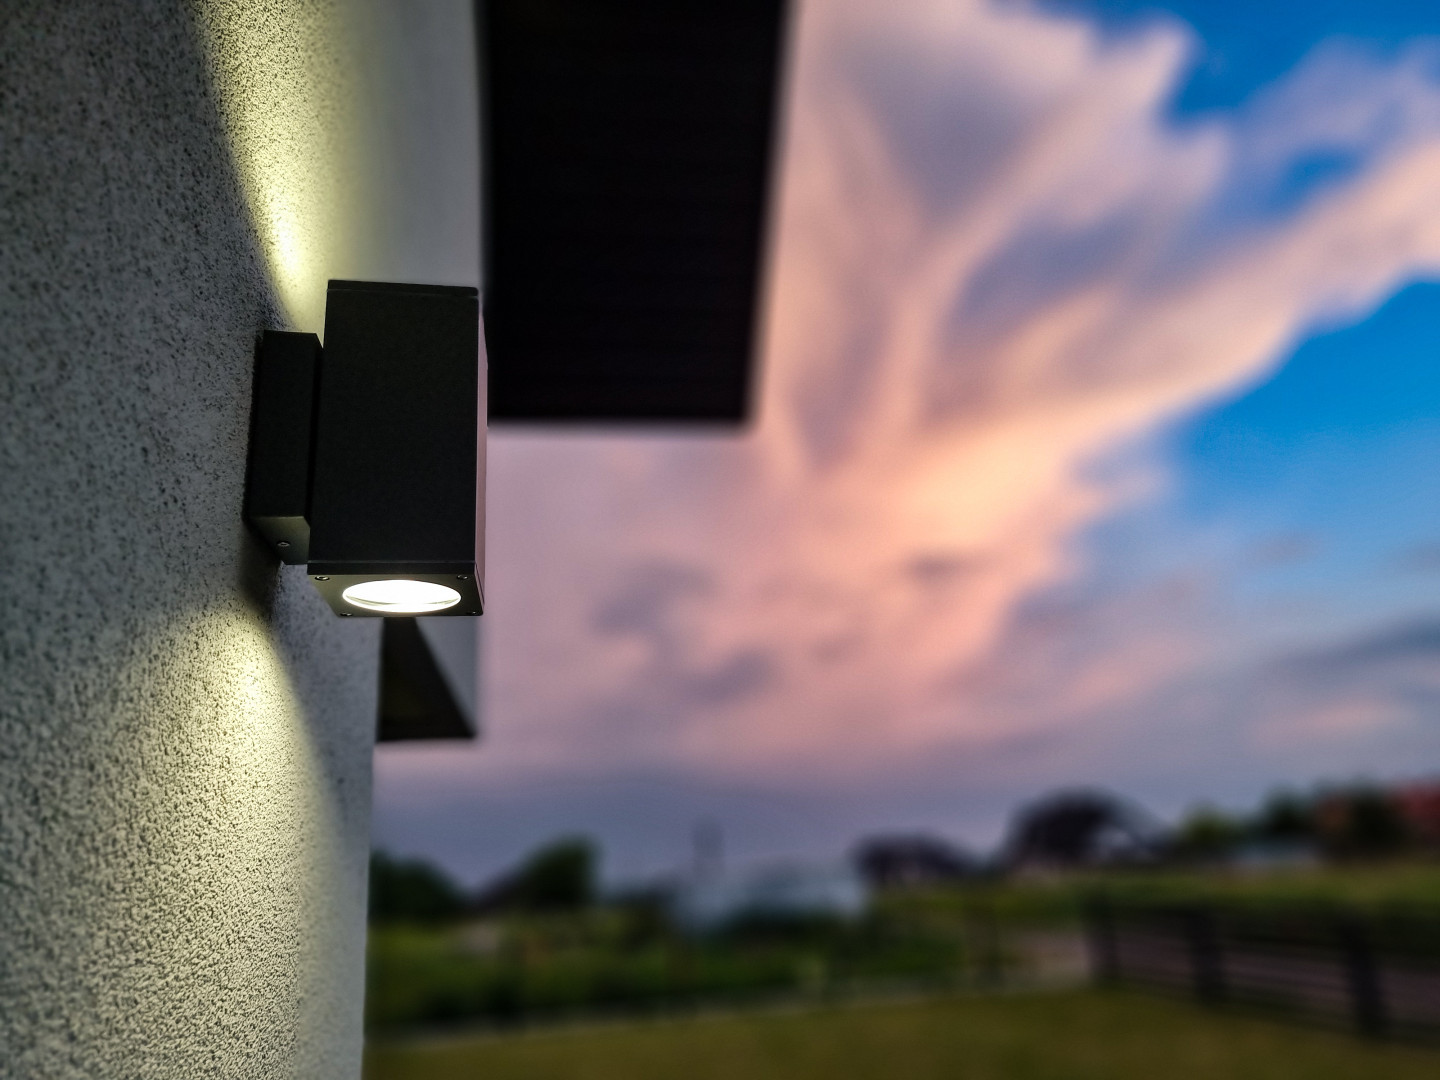
Outdoor wall lights are highly practical and aesthetic lighting elements installed on building façades, exterior house walls, or commercial properties. Their main purpose is to ensure safe movement around the property after dark by properly illuminating the surrounding area, while also highlighting the architectural features of the building. Façade wall lights work well in both modern and classic designs, thanks to the wide selection of styles and materials available.
Among the available façade lighting fixtures, you can find models with integrated LED light sources, known for their energy efficiency and long lifespan, as well as fixtures with replaceable light sources, offering greater flexibility in choosing suitable bulbs. With such a broad range of options, façade wall lights can be matched to any architectural style, adding distinctive character and functionality to the building.
How to Install a Wall Light on a Façade – Step-by-Step Instructions
Before starting any work on outdoor lighting, familiarize yourself with the instructions and safety regulations.
Before beginning the installation, it is important to carefully read the manufacturer’s instructions, as they contain crucial information regarding proper installation, electrical connection, and maintenance of façade lighting. Following the instructions helps prevent mistakes that could lead to damage or safety hazards. Additionally, the instructions may include important details about installation requirements in various conditions, ensuring the optimal performance of the fixtures.
Electrical installation requires special caution! Before installing a wall light, the power to the circuit must be switched off. Always ensure that the power is disconnected before working with the wires. To do this, turn off the appropriate circuit breaker in the distribution board and verify the absence of voltage using a tester. It is also advisable to inform household members about the ongoing electrical work to prevent anyone from accidentally turning the power back on.
Using insulated tools is recommended, as they provide additional protection against electric shock.
Outdoor lighting should be installed in dry conditions, so avoid working on wet surfaces to minimize the risk of electric shock. Proper insulation of wires is essential to prevent short circuits; always use electrical tape designed for such work.
If you do not feel confident, consider hiring a professional electrician. A qualified professional will ensure that the installation is safe and compliant with regulations, preventing issues caused by improper installation.
1. Choosing the installation location for an outdoor wall light is crucial for both the functionality of the lighting and the overall aesthetics of the space around the house.
Lights should illuminate strategic areas such as the entrance to the house, terrace, pathways around the building, balcony, or garage. Properly chosen locations will not only ensure safety and ease of movement after dark but also create an attractive visual effect that highlights the architectural features of the building.
Pay attention to the mounting height. The optimal height is approximately 2–2.5 meters from the floor level, which allows for even illumination of the surroundings while avoiding glare that could be uncomfortable for people nearby. For lights installed near entrance doors, position them so they adequately illuminate the door handle and lock, further enhancing user convenience.
2. Preparing the Necessary Tools and Materials
Before starting the installation of outdoor wall lights, you should prepare the appropriate tools and materials to make the work easier and faster:
- Drill or screwdriver
- Wall plugs
- Screws
- Screwdriver
- Voltage tester
- Wire stripper or knife
- Electrical tape
- Spirit level
- Pencil or marker
3. Turn off the power at the installation site.
Safety first – before starting any work, make sure to turn off the power in the circuit to which the light will be connected. Locate the appropriate circuit breaker in the distribution board, switch it off, and then verify that the power is completely disconnected using a voltage tester. This procedure helps eliminate the risk of electric shock, which is especially important when working with an electrical installation.
4. Mark the installation location for the light.
Before drilling any holes, carefully determine the position of the light on the wall. Hold the fixture against the mounting surface and precisely mark the spots where screws or wall plugs will be inserted to ensure a secure attachment. It is recommended to use a spirit level to make sure the light is mounted evenly, which will not only improve its appearance but also enhance the functionality of the lighting.
5. Drill the holes and install the mounting bracket.
Drill holes to the appropriate depth, matching the wall plugs you plan to use. After drilling, insert the plugs, ensuring they are firmly seated in the wall to provide a stable mounting. Then attach the lamp’s mounting bracket by securely fastening it to the wall with screws. This will ensure the fixture is firmly mounted and ready for electrical connection.
6. Connect the wires.
Use a voltage tester to ensure the circuit is safe. Then strip the main insulation and the individual wires to the appropriate length, and connect the wires: live “L” (brown or black), neutral “N” (blue), and earth (yellow-green), making sure each wire is properly connected to the corresponding terminal in the lamp’s terminal block.
7. Mount the light fixture onto the bracket.
Once the wires are connected and properly insulated, carefully place the lamp body onto the mounting bracket, ensuring it is securely seated. Make sure all components fit correctly to prevent any looseness or shifting of the fixture after installation.
8. Turn on the power and check the operation.
After completing the installation, it’s time to turn on the power and check that the light is functioning properly. Pay close attention to any flickering, which could indicate connection or power issues. Also, make sure there are no short circuits that could pose a safety hazard. Check that the lamp turns on and off correctly, confirming that the installation was done properly. It’s a good idea to observe the light for a few minutes to ensure it operates steadily and without any disruptions.
Summary
Installing façade lighting fixtures requires care, precision, and basic knowledge of electrical work. Properly executed installation ensures pleasant lighting and trouble-free use for many years, while also preventing issues related to incorrect wiring or malfunctions.
If you do not have the necessary skills, it is advisable to entrust this task to a qualified electrician to avoid accidents.