


Installation of Recessed and Flush-Mounted Outdoor Lights
Are you planning modern and functional outdoor lighting? In our guide, you will learn how to properly install recessed outdoor lights. We present step-by-step instructions on how to choose the installation location, prepare the wiring, and mount the fixtures while ensuring safety and durability of the installation. With our tips, your lighting will not only be practical but will also aesthetically highlight the architecture of your home and its surroundings.
Installation of recessed outdoor lights
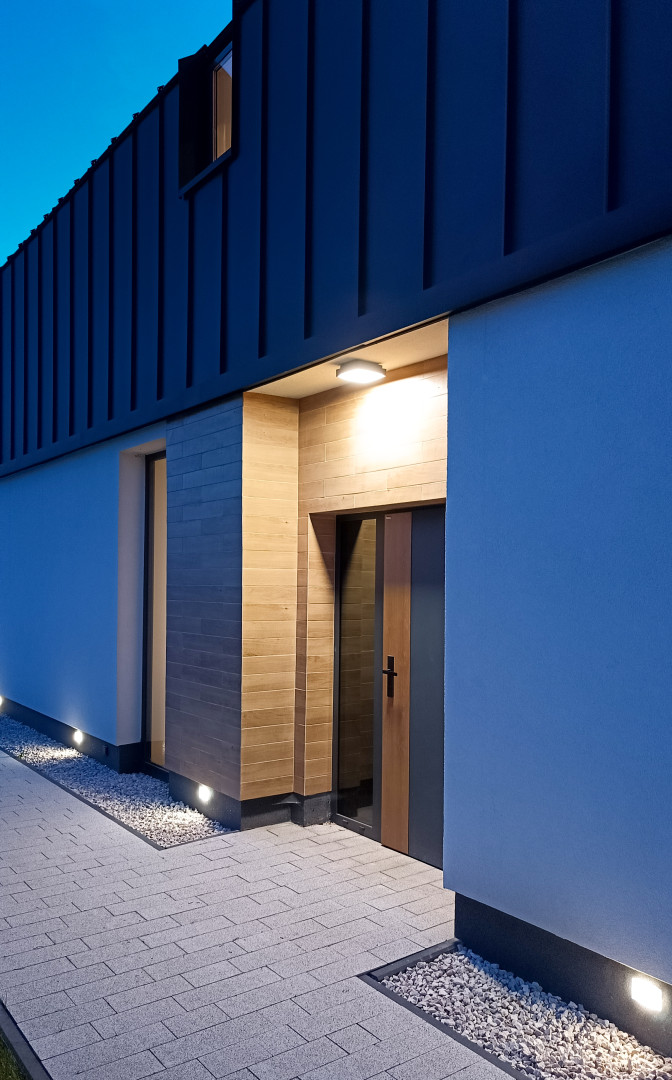
Installing recessed outdoor lights is an excellent way to enhance illumination in various areas such as exterior stairs, the building plinth, foundation walls, and roof soffits. Recessed fixtures provide an aesthetic solution that blends seamlessly with the architecture while increasing safety after dark.
For the best results, locations should ideally be planned during the electrical installation design phase. Properly selected lighting not only improves safety but also gives the space a modern appearance.
Choosing recessed lights, especially those with energy-efficient LED sources, is an ideal solution for effectively illuminating outdoor areas. LED lamps are characterized by long lifespan and low energy consumption, making them both economical and environmentally friendly. They allow you to enjoy excellent lighting that highlights your home's architecture and enhances safety in various installation locations. This step-by-step guide will show you how to safely install recessed outdoor lights to maximize their potential.
Familiarize yourself with the manufacturer’s instructions
Carefully read the manufacturer’s instructions for the lamps. They contain important information regarding installation, required materials, and guidelines for maintaining the warranty. Following these instructions will help you avoid issues and ensure the proper functioning of the lamps.
Tools and Materials
Before starting the installation of recessed outdoor lights, carefully check that you have all the necessary tools and materials to carry out the installation efficiently and safely. For this task, you will need:
- Recessed outdoor lights
- Switch
- Electrical wires
- Electrical connectors
- Screwdriver or drill
- Spirit level
- Pencil or marker
- Knife or wire stripper
- electrical insulation tape
- Screwdrivers
- Pliers
- Plaster for securing mounting
Safety
Before starting work on installing recessed outdoor lights, make sure to follow these safety guidelines to protect yourself and ensure a successful installation.
- You have turned off the power in the work area. Before starting any work, always make sure that the electricity in the area where you will be working is switched off. This may involve turning off the main circuit breaker or individual fuses to avoid the risk of electric shock. It is also good practice to label the breaker to prevent anyone from turning the power back on while you are working.
- Work in a dry area and avoid working in the rain. Make sure the weather conditions are suitable for the task. In case of rain or high humidity, avoid any actions that could put you at risk. By working in a dry environment, you reduce the risk of electrical short circuits and other hazards related to moisture.
How to Install Recessed Outdoor Lights
Step 1: Choosing the Location
Choosing the right location for installing recessed wall lights is best considered during the house construction phase and electrical system design. Make sure the selected spot will effectively illuminate the space, ensuring proper visibility and user safety, while also highlighting the architectural details of the building.
Thoughtful placement of the lights, taking into account key areas such as pathways, stairs, or relaxation zones, will enhance both the functionality and the aesthetics of the outdoor space.
Step 2: Preparing the Opening
Preparing the opening is a crucial step in the installation process of recessed lights. First, carefully measure the installation spot, then use a level to ensure that the opening will be perfectly aligned. This will provide an aesthetic appearance and proper lighting performance, ensuring that the fixtures effectively illuminate the space.
After marking the location, use a drill to create the opening in the wall or ceiling. Make sure the opening has the correct dimensions for installing the light fixture.
Step 3: Preparing the Wires
Cut the cable to the appropriate length to match the installation requirements and avoid excess wiring, which will help maintain organization and a neat appearance. Then strip the insulation to the proper length, taking care not to damage the inner conductors, as this could affect the safety and functionality of the lighting.
Once the wires are prepared, route the cable through the mounting box, ensuring it is properly secured and protected from abrasion. Well-prepared wiring is key to a smooth and safe lighting installation.
Step 4: Installing the Lights
Depending on the material of the façade, you will need to choose the appropriate mounting system: this may include special anchors for polystyrene insulation, wood screws, or concrete wall plugs. You can also use construction plaster to secure the mounting box in place.
Run the cable through the mounting box, then fasten it with the appropriate screws or prepare construction plaster and set the box into the wall. Once the plaster has dried, you can proceed with connecting the wires.
Identify the wires you will be connecting: the live wire (L), usually brown or black; the neutral wire (N), blue; and the protective earth wire (PE), which should be green and yellow.
Next, connect the appropriate wires to the terminal block inside the fixture housing, following this rule: connect the live wire (L) to the marked live terminal, the neutral wire (N) to the neutral terminal, and the protective earth wire (PE) to the grounding terminal.
Make sure all connections are firmly secured. Check that there are no loose wires or damage to eliminate the risk of short circuits. After completing the connections, mount the light fixture, ensuring it is installed evenly and aligned properly.
Step 5: Turning On the Power and Testing the Lighting
Turn on the power and carefully test the operation of the lights. Check whether all light sources illuminate evenly and ensure there is no flickering, which may indicate issues with the electrical connections. Also make sure there are no short circuits — these can be identified by light outages or sparking when switching the power on. If you notice any irregularities, immediately disconnect the power supply and verify that all connections and the installation have been completed correctly.
Summary – Installation of Recessed Outdoor Lights
Installing recessed and flush-mounted outdoor lights can be straightforward and enjoyable if you proceed carefully and precisely. Properly positioned, these lights can illuminate stairs, terraces, roof eaves, or plinths while simultaneously highlighting the architecture of your home.
By choosing recessed outdoor lights with energy-efficient LED sources, such as the MUR LED INOX E 04 model, you get durable and effective lighting that operates reliably for many years. Outdoor LED lights not only save energy but are also resistant to weather conditions, enhancing both comfort and safety of use.
Remember to follow safety guidelines, correctly connect the wires, and use the appropriate installation tools. This ensures that your outdoor lighting is functional, aesthetically pleasing, and reliable, making the area around your home safe and attractively illuminated.
If you are not fully confident in your skills, it is advisable to entrust this task to an experienced electrician to minimize the risk of serious accidents and electrical installation failures.